So you’ve probably heard of the walking taco, those chip bags filled with all the taco fixings so you can walk around and eat a taco mess-free! Well now I’m going to show you the walking taco casserole. Did you ever think you could eat all the warm savory goodness of a taco casserole on the go?
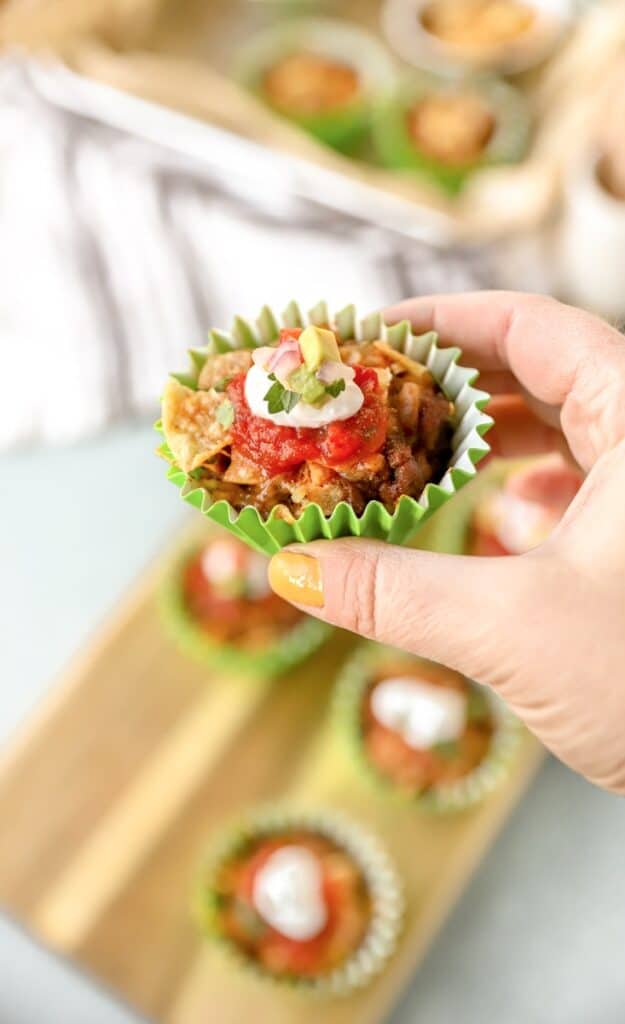
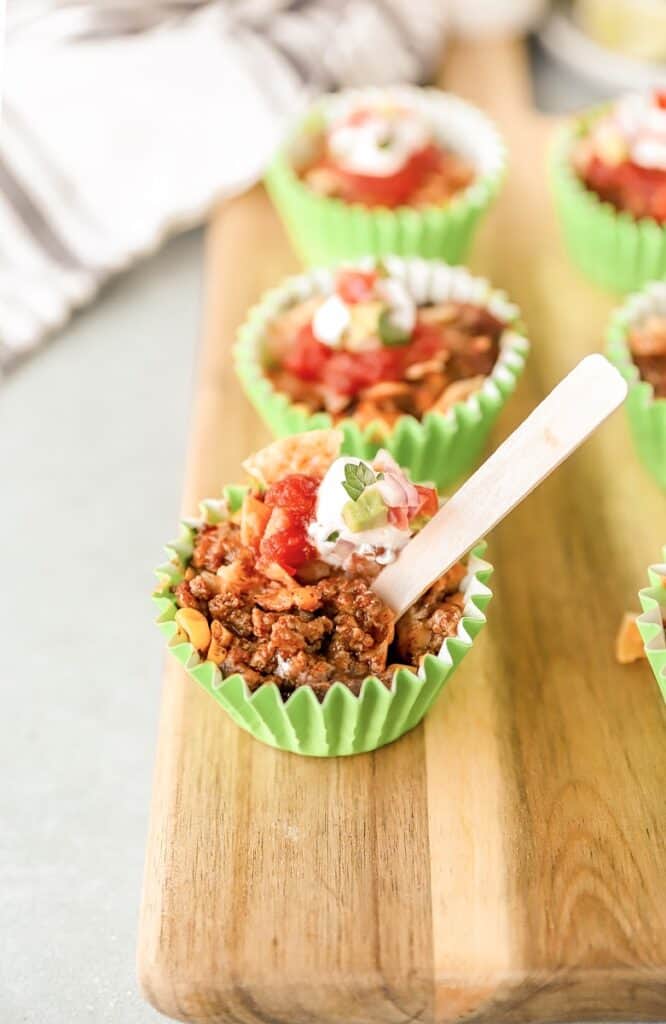
By using aluminum baking ramekins or grease-resistant cupcake liners you can make these walking taco casseroles! These are perfect as little walking taco bakes for parties, football watching, or for a fun spin on your next taco night.
Just layer the ingredients in the ramekin or liner, bake, then add your favorite taco toppings and eat!
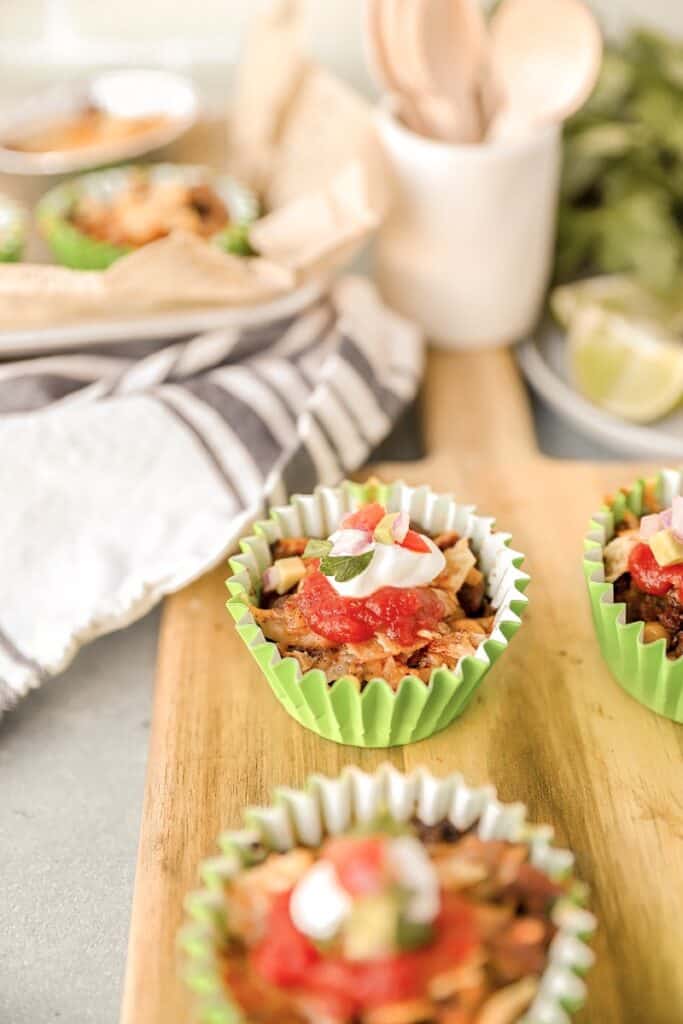
How to make walking taco casseroles
I want to make sure these little taco bakes come out perfectly for you! Here are some helping cooking tips!
Drain the grease. It’s really important that you remove as much grease from the taco meat as possible. Too much leftover grease in the mix will continue to bake out and make the final mini casserole a little too watery and greasy. Instead of just spooning out the excess grease I’ll pour the cooked beef into a mesh strainer to drain. I also recommend using ground beef that’s either 85/15 or 90/10to cut down on grease.
Don’t fill the cup too high. Remember, these walking casseroles are going to be topped with taco fillings so you want to make sure there’s enough room at the top to add your tomatoes, sour cream, salsa and more!
Choose the right holder. Ok here’s probably the most important part, you need to be sure to use the right type of liner or baking ramekin for these. Do not use regular thin paper cupcake liners. I can’t stress this enough, those won’t work at all for this. You need to either use something like these disposable aluminum baking cups or grease-resistant baking cups. Michaels craft store sell so many cute options for the grease-resistant cups down their baking aisle!
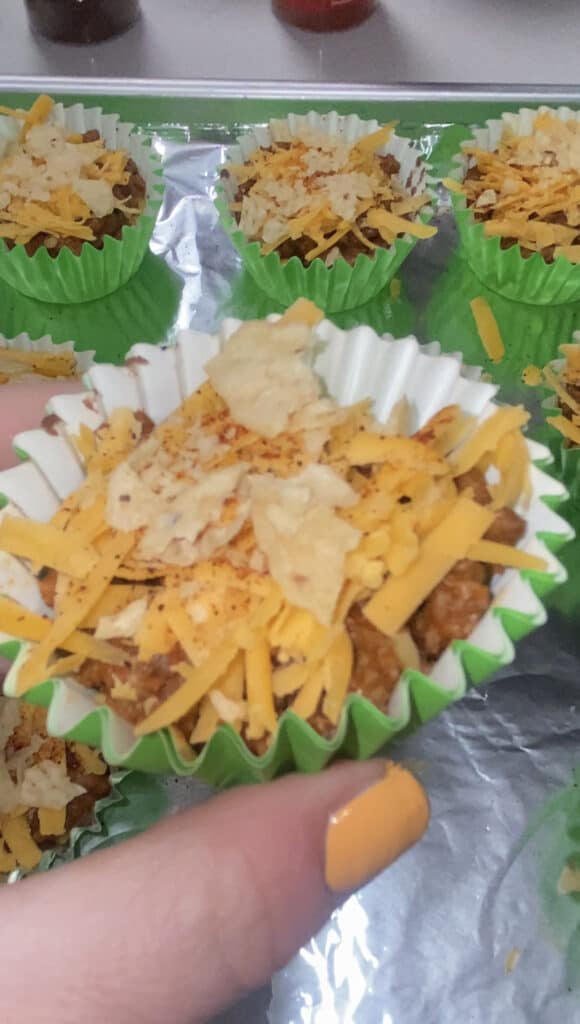
Add to a baking sheet. Don’t use a muffin tin, just add the liners directly to a flat baking sheet! I found if you use a muffin tin the mini taco bakes are too low and too difficult to remove safely when they’re warm.

Let them rest. Since these are intended to be a handheld walking snack, you’ll want to make sure they aren’t too hot to hold comfortably. After taking them out of the oven, let them rest for 10-15 minutes. They can be warm to the touch but should not be uncomfortable to hold while you’re eating.
Double line. You’ll be using two liners for each little casserole. By doubling up on the liners this will give them some extra support so these truly can be a walking appetizer.
Toppings and garnishes
Now that you have your baked walking taco casseroles and they’ve cooled enough to walk and eat, it’s time to garnish! Here’s where you can add all your favorite taco toppings and make this an epic party snack.
- Guacamole or diced avocados
- Salsa or taco sauce
- Pico de gallo
- Sour cream or crema
- Diced red onions
Looking for more taco or Mexican flavor inspired dishes? Check out some more of my favorites!
Mexican Corn Pasta Salad
Hot Taco Dip
Taco Smashed Potatoes
Crunchy Taco Meatballs
And for more party appetizers and snacks, you might want to try some of these!
Sub Sliders
Cream Cheese Salsa Dip
Buffalo Chicken Meatballs
Walking Taco Casserole
Enjoy the comforts of a taco casserole in a handheld walking taco casserole bake! Perfect for a party or for your next taco night.
- Prep Time: 20 minutes
- Cook Time: 15 minutes
- Total Time: 35 minutes
- Yield: 19 – 20 mini casseroles
- Category: Appetizer
- Method: Bake
- Cuisine: Mexican American
Ingredients
1 pound ground beef, use either 85/15 or 90/10 to reduce the amount of grease
1 packet of taco seasoning
2/3 cup water as called for on the taco packet
15oz can refried beans, you can use refried black beans or refried pinto beans
Corn, I used cooked frozen corn from the bag and used about 3/4 the bag
Sharp Cheddar cheese, grated
Crushed tortilla chips
Smoked paprika
For the additional toppings
Red onions
Avocado
Tomatoes
Salsa
Sour cream
Instructions
1. Preheat the oven to 350 degrees.
2. In a large pan cook the ground beef until no longer pink and fully cooked. Completely drain of all excess grease, I use a mesh strainer to really get all the grease out.
3. Return the ground beef to the pan and add 2/3 cup water and the entire taco seasoning packet to coat all of the beef. Bring to a light boil so that the sauce completely thickens, then turn off the heat and spoon the taco meat into a bowl and allow to cool for 10 minutes.
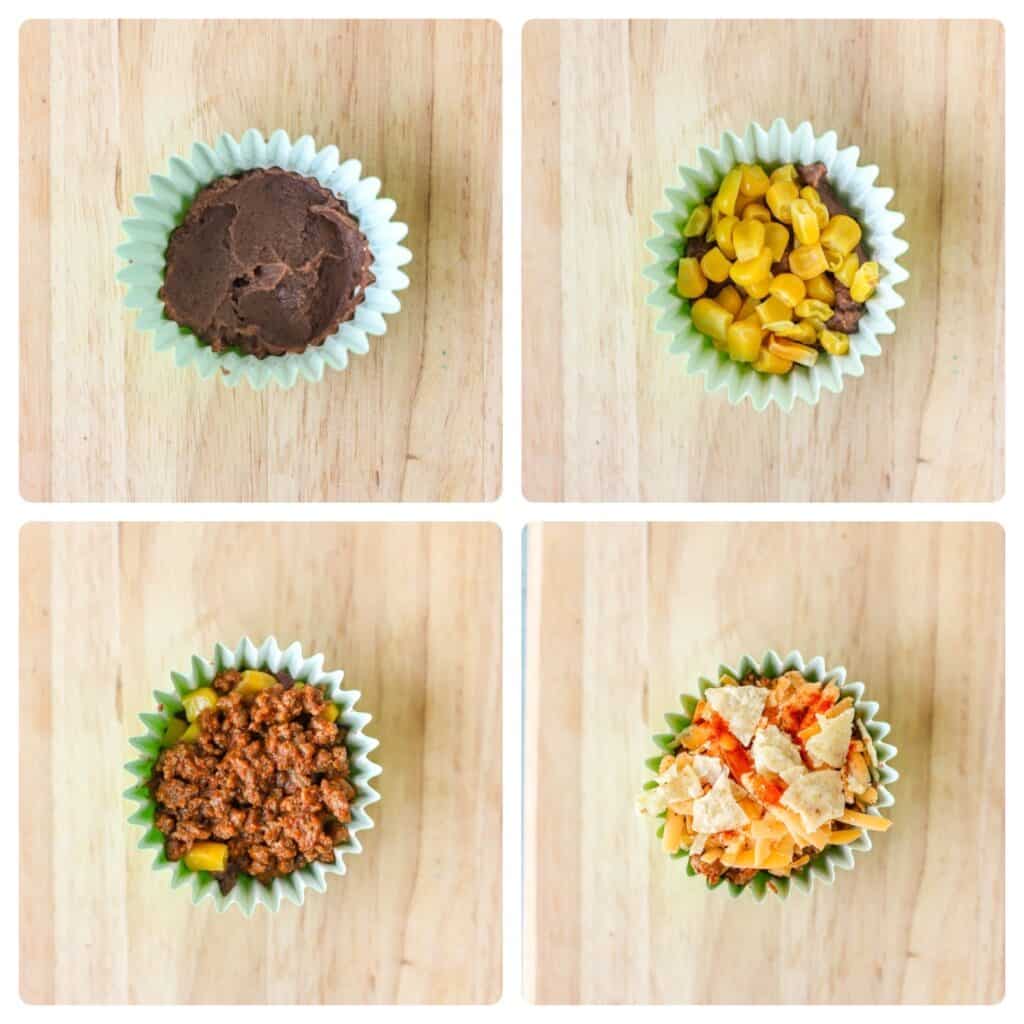
4. While the beef is cooling, start prepping the baking cups. Take 2 of the liners and add them together and place directly on a baking sheet, do not use a muffin tin as it will be too difficult to remove them after baking. Next add 1 and 1/2 tablespoons of the refried beans to the bottom of the liner. See notes above for the correct liners to use. You need to either use aluminum baking ramekins or grease-resistant liners. Do not use standard paper cupcake liners!
5. Next add a little of the corn, then 1 and 1/2 tablespoons of the taco ground beef, pressing down to pack everything together. The baking cup should not be filled all the way to the top. At this point the cup should only be about 3/4 way filled. Now top with shredded cheese, sprinkle with smoked paprika, and top with some crushed tortilla chips. Bake for 15 minutes.
6. Remove from the oven and allow to cool for 5 minutes on the baking sheet, then place them on a plate and let them cool for 10 more minutes.
7. To serve, top with any additional taco toppings you want. They can be warm to the touch, but should not be uncomfortable to hold to walk and eat!
Notes
Drain as much grease as possible to avoid a greasy casserole.
Don’t fill the liners all the way to the top with the ground beef to avoid any of the liquids from bubbling over.
Make sure these are comfortable to hold temperature wise. If they are too warm, pop them into an additional baking liner.
DO NOT USE PAPER LINERS! You have to use a sturdy baking liner either an aluminum baking ramekin or grease-resistant baking cups.
DO NOT BROIL to melt the cheese! Cupcake liners are not safe for the high temperatures of broiling.
Keywords: walking taco casserole


Leave a Reply